For this feature to work Chromebooks need to be managed and enrolled and have a chrome enterprise license
NB:
You may need to add a wildcard for google on your firewall exemption list *google.com/* and also add the url for our smartlogin- smartlogin.realsmart.co.uk.
Other urls that schools have had to add to exemptions lists are below - you may need to add these:
If you connect via an RM Proxy you may need to change the Proxy settings as some schools Chromebook sign in have been blocked by RM firewall- Please contact RM direct if your Chromebook sign in is blocked by your Proxy
How the Chromebook sign in works
Step 1
Set realsmart SAML SSO as the Identity Provider
In your Google Admin console (at admin.google.com)
Go to Devices > Chrome
Click Settings > Users & browsers.
To apply the setting to all users and enrolled browsers, leave the top organizational unit selected.
Otherwise, select an OU e.g. Learners or you may have an OU for your chromebooks
Under Security> Single sign-on, select Enable SAML-based single sign-on for Chrome devices from the list as screenshot
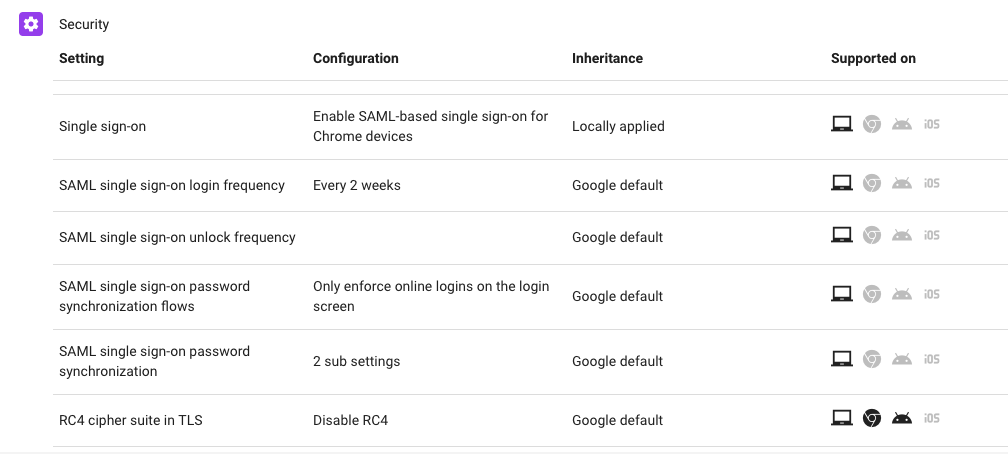
Click Save.
Step 2
Force users to the realsmart SAML Sign in page
Go to Devices > Chrome
Click Settings > Device settings.
Under Sign-in settings > Single sign-on IdP redirection select Allow users to go directly to SAML Id page from the list.
Under Single sign-on cookie behavior select Enable transfer of SAML SSO cookies into user session during sign-in
OPTIONAL We recommend Under User data - Erase all local user info, settings, and state after each sign-out select Erase all local user data

Click Save.
OPTIONAL Step 3
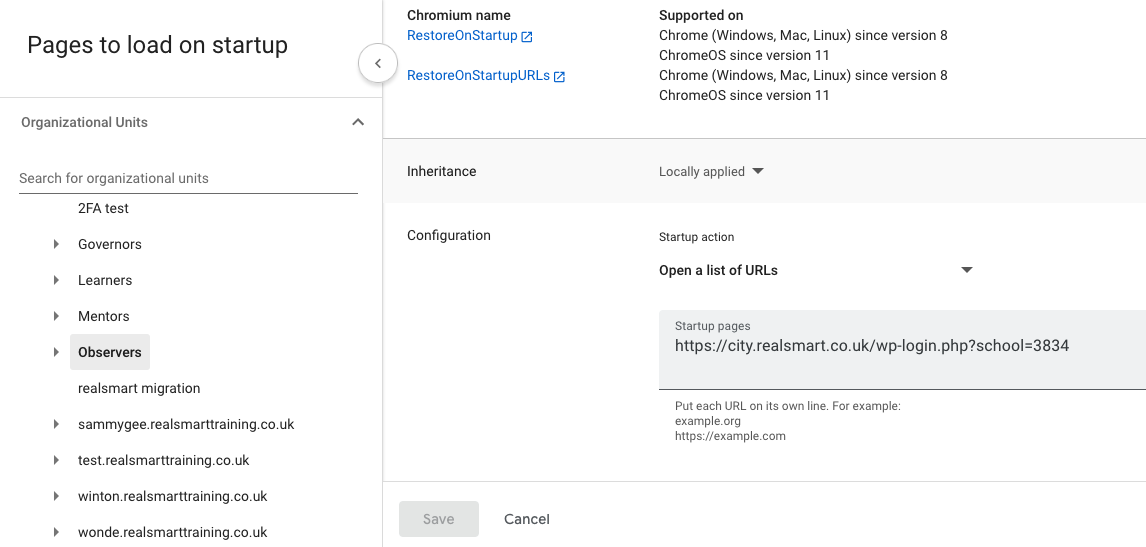
Set the homepage (page to load on chromebook startup)
https://*yourschool.com*/wp-login.php?school=*your realsmart ID number*
You can request this from support@realsmart.co.uk
This can be found in Devices > Chrome > User & Browser settings > Startup > Pages to load on startup
This setting signs the user into your school website when the user signs into the chromebook